If you’ve played Fissure or read previous articles on it, you know that the Fissure map is effectively infinite (and therefore dull). I needed a way to texture an infinite map in a way that didn’t require a huge image download, but didn’t look like the same texture repeated over and over again. It had to vary across the surface—not just the pattern, but the color, suggesting different compositions of rock across the interior of the cave.
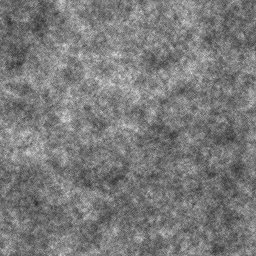
My solution: Perlin noise in the shader. I used Gimp to create a difference cloud.

A difference cloud bitmap works better than pure white noise, where each pixel is a random number and bears no relationship to its neighbors. The source image should have some structure to it, some pattern. I’ve generated useful images with a Drunkard’s Walk, increasing each pixel value as I stumble over it, though this takes many cycles to get anything useful.
Once I had the source image, I put it into Fissure as a texture and passed it to my fragment shader for the cave.
(irrelevant bits snipped)

uniform sampler2D tex0;
varying vec2 uv;

void main(void) {
	vec3 t0 = texture2D(tex0, uv * 1.0).x * vec3(0.8, 0.4, 0.2);
	vec3 t1 = texture2D(tex0, uv * 5.0).x * vec3(0.3, 0.6, 0.8);
	vec3 t2 = texture2D(tex0, uv * 25.0).x * vec3(0.6, 0.8, 0.5);
	vec3 t  = t0 + t1 + t2;
	gl_FragColor = vec4(t, 1.0);
}
The uv variable holds the texture coordinates for this fragment and tex0 holds the difference cloud texture above. I use three samples of the texture to build the final pixel value, multiplying the texture coordinates by a progressively larger number. The texture is greyscale, so I only need one of its RBG components. I multiply the greyscale texture by a color of my own choosing.
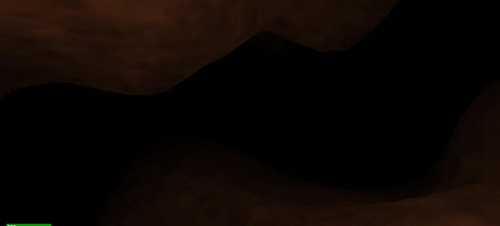
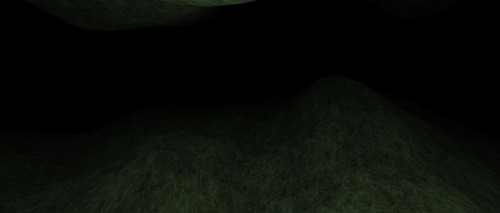
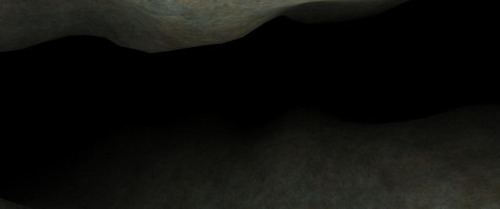
Here are what the t0, t1, and t2 contributions look like on their own.


The t0 contribution spreads the original texture over a large area, whereas t1 and t2 are 5 and 25 times smaller, respectively. I chose dark colors so that the sum of all the contributions would vary as much as possible.

As I travel through the cave, I note gradual changes in color. There is no obvious boundary between one sort of “rock” and another. I’m not sure how accurate this is, as a cave on Earth would show bands of color denoting the different strata. I’d assume that a moon in deep space would have followed a different geological path.
Performance cost is minimal, and only a small source texture is required. Mine is 256×256, which is 53K in PNG format. (JPEG compresses smaller, but I found the lossy artifacts distracting when they were blown up across the surface.)
Like any procedural technique, it’s no substitute for a pro artist or modeler. As I’m neither of those things, I found it a useful way of producing something interesting to look at so I could get back to thinking about gameplay and writing.

